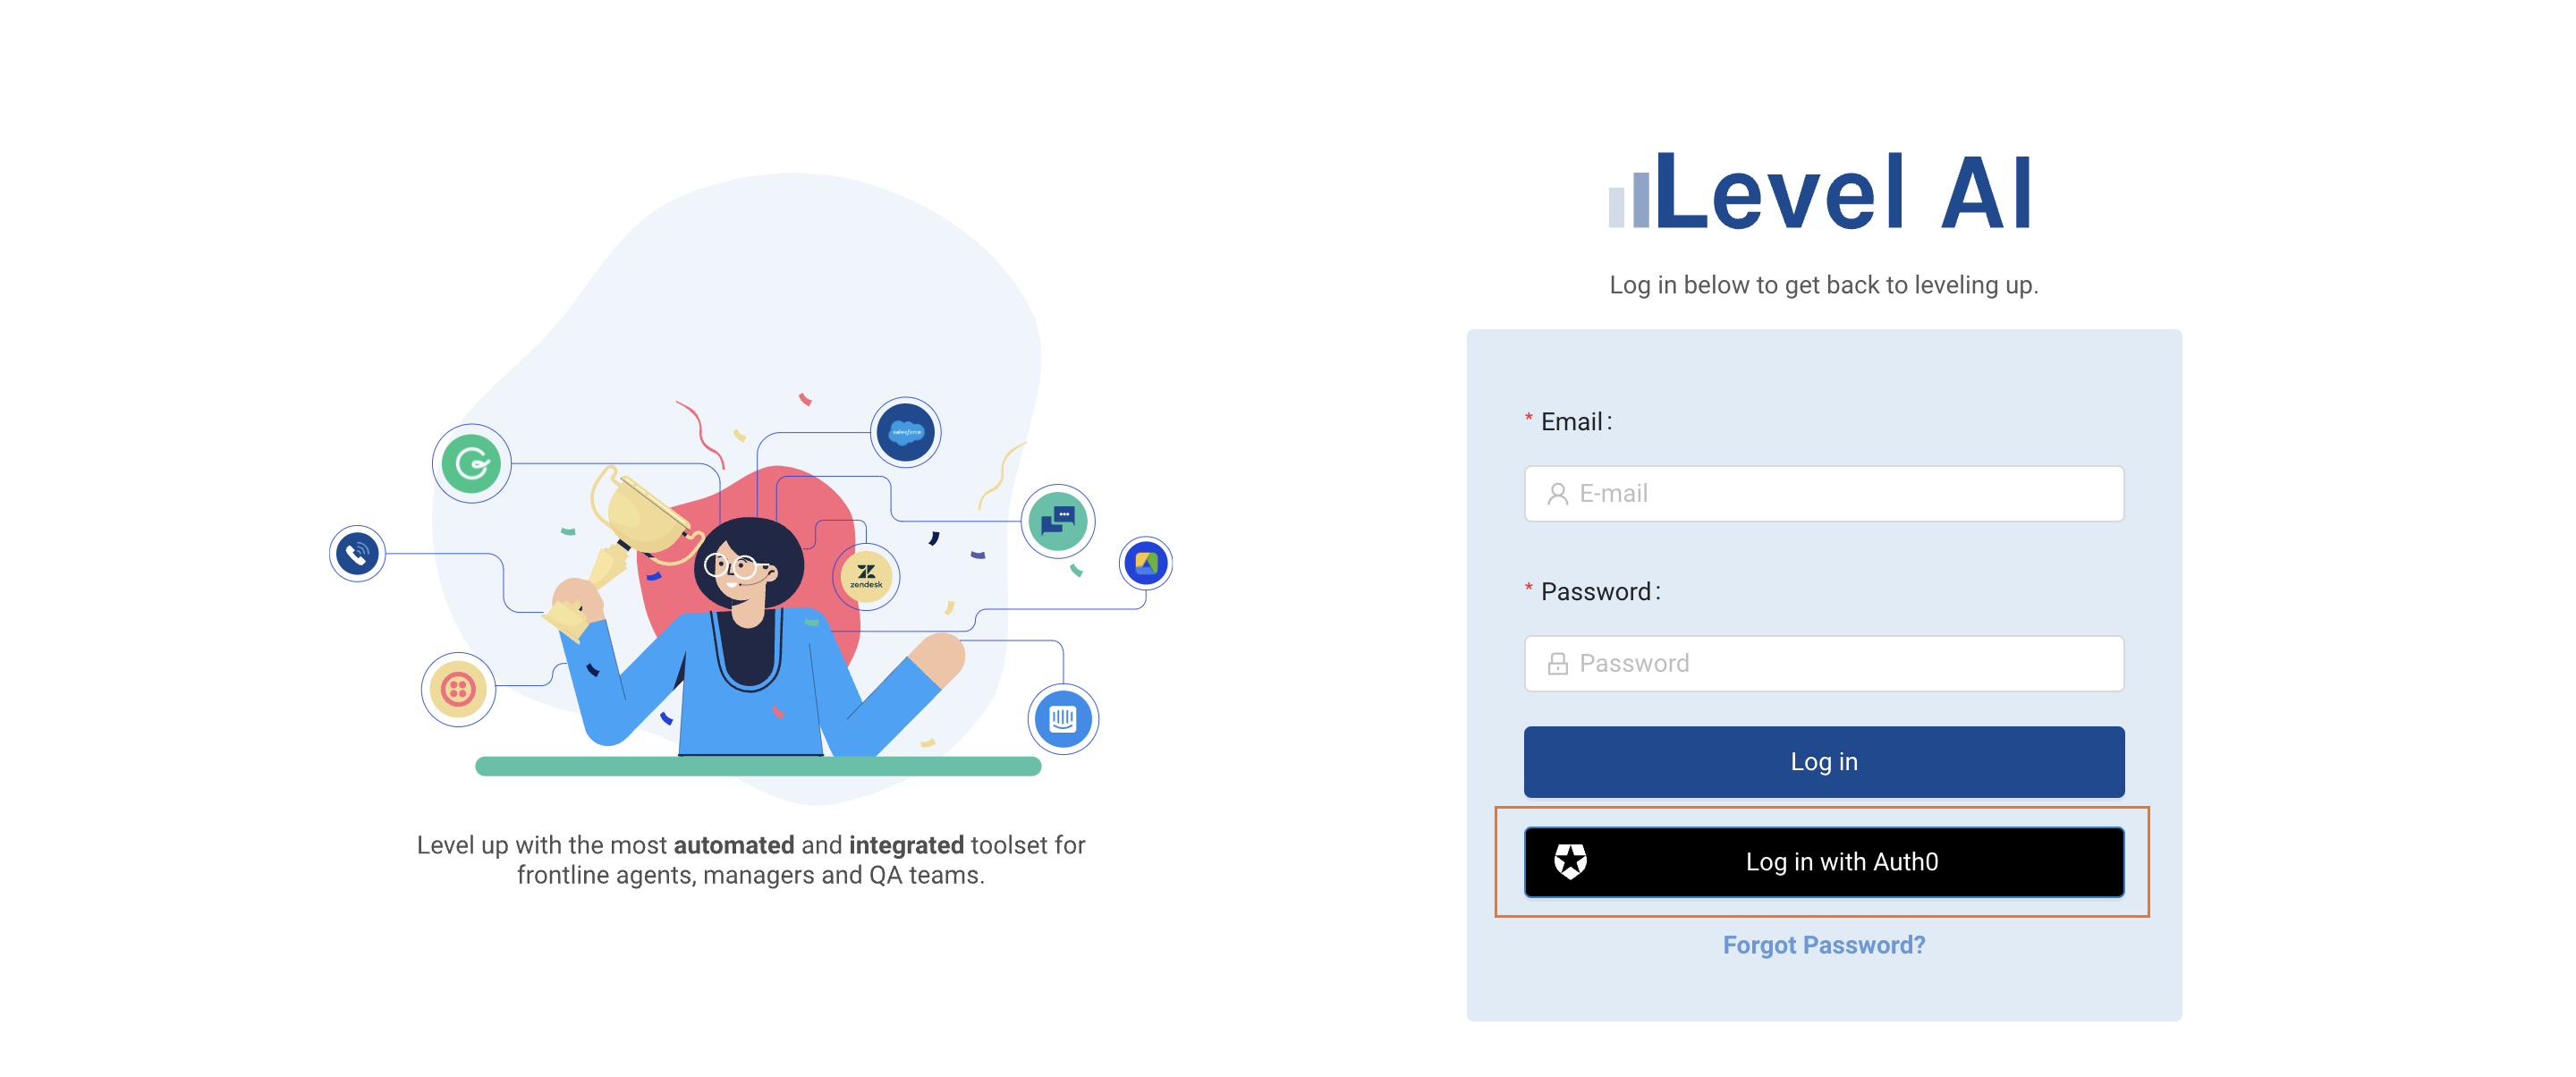
Setting up Auth0 Single Sign-on in Level AI
Last updated: June 18, 2026
The Level AI - Auth0 SSO enables members of your contact center team to seamlessly log into your Level AI without having to create credentials separately for Level AI. Additionally, your IT team can easily onboard new members into Level AI.
Configuration Steps:
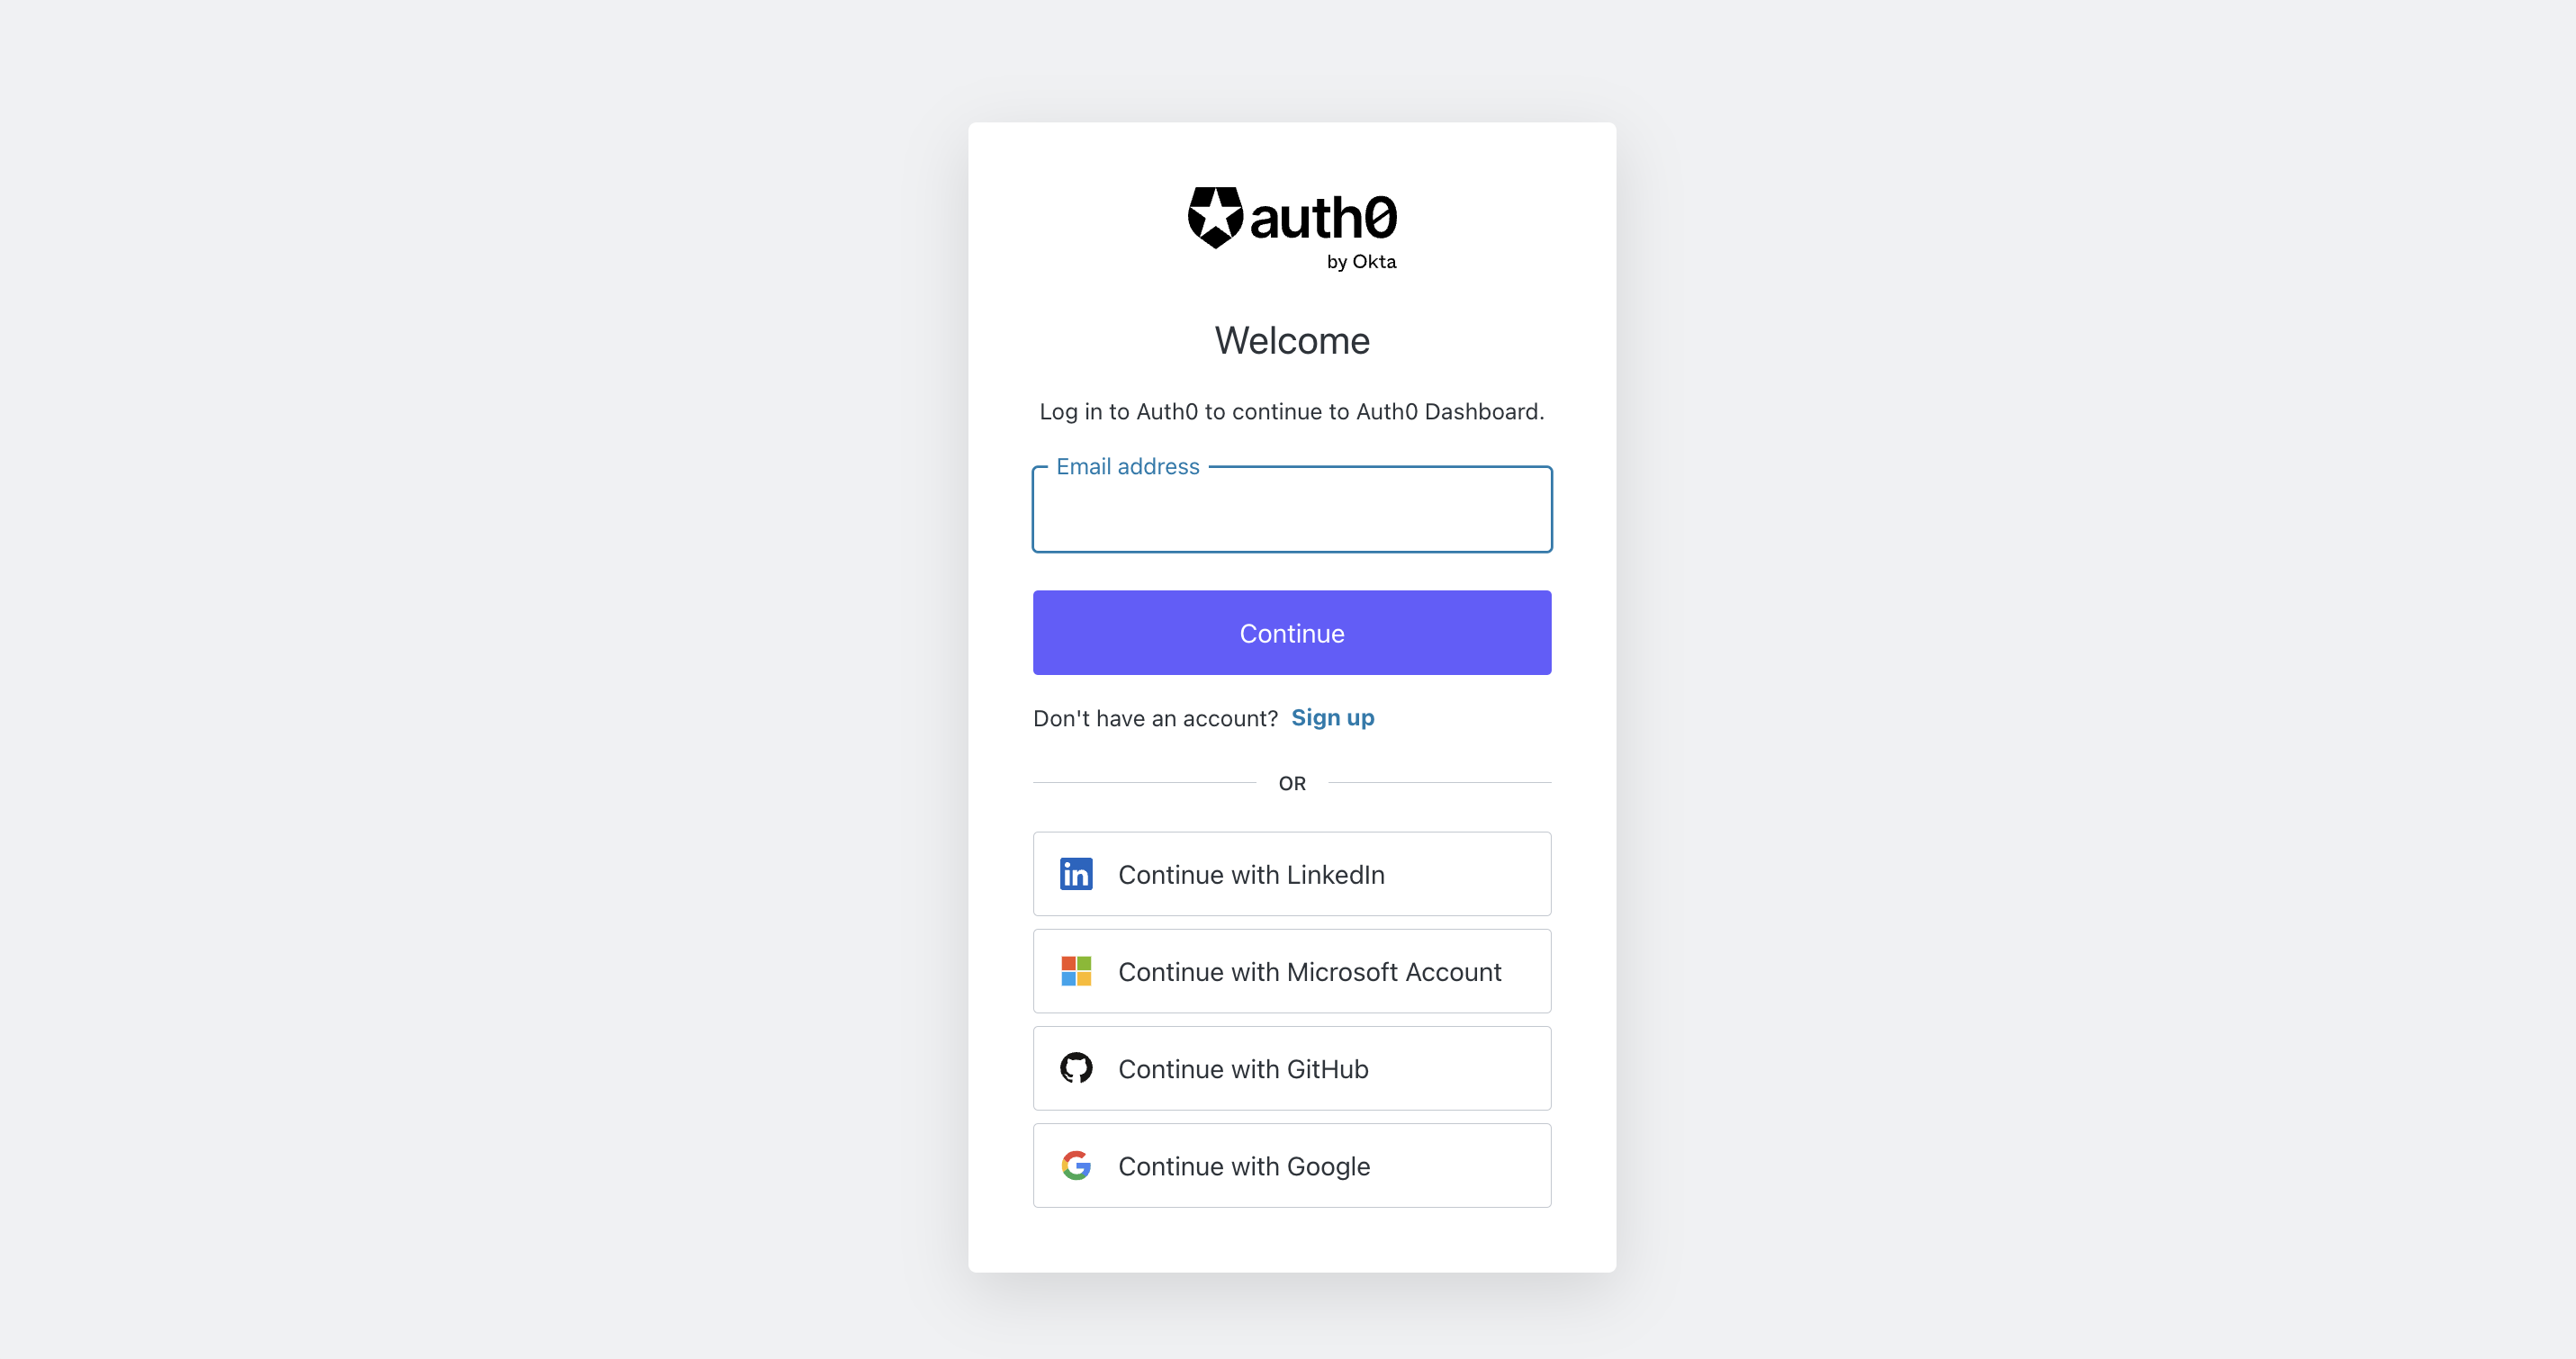
Navigate to your Auth0 page and login as an administrator.
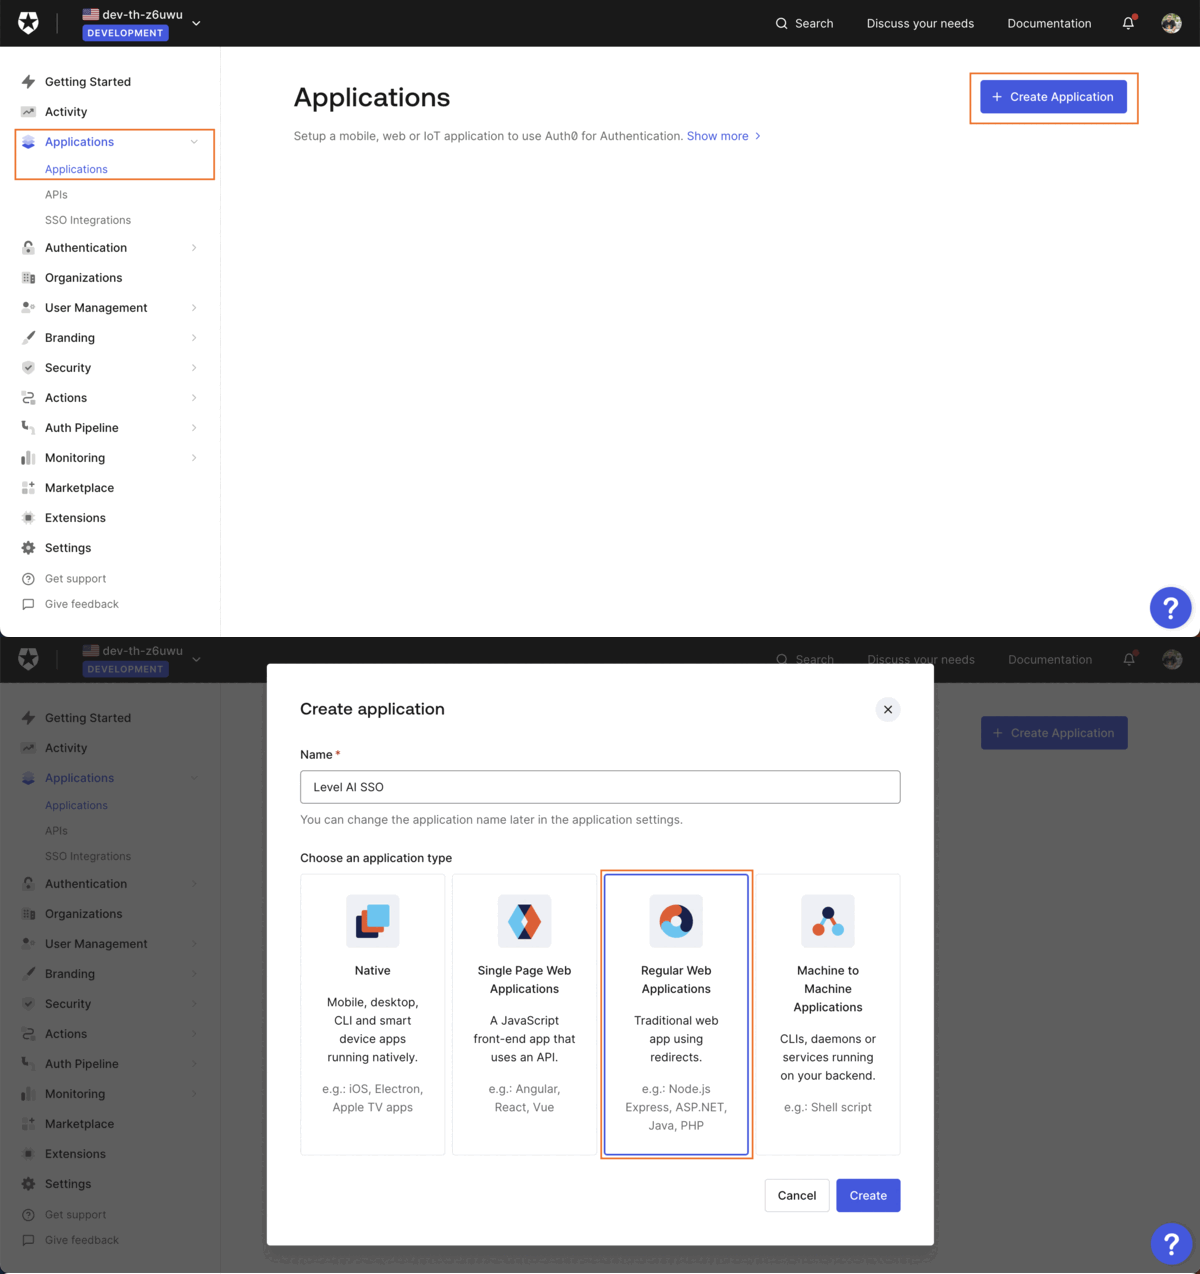
Navigate to Applications section from the left navigation and click on Applications.
Click on Create Application. Provide an apt name and choose Regular Web Applications and Click on Create.
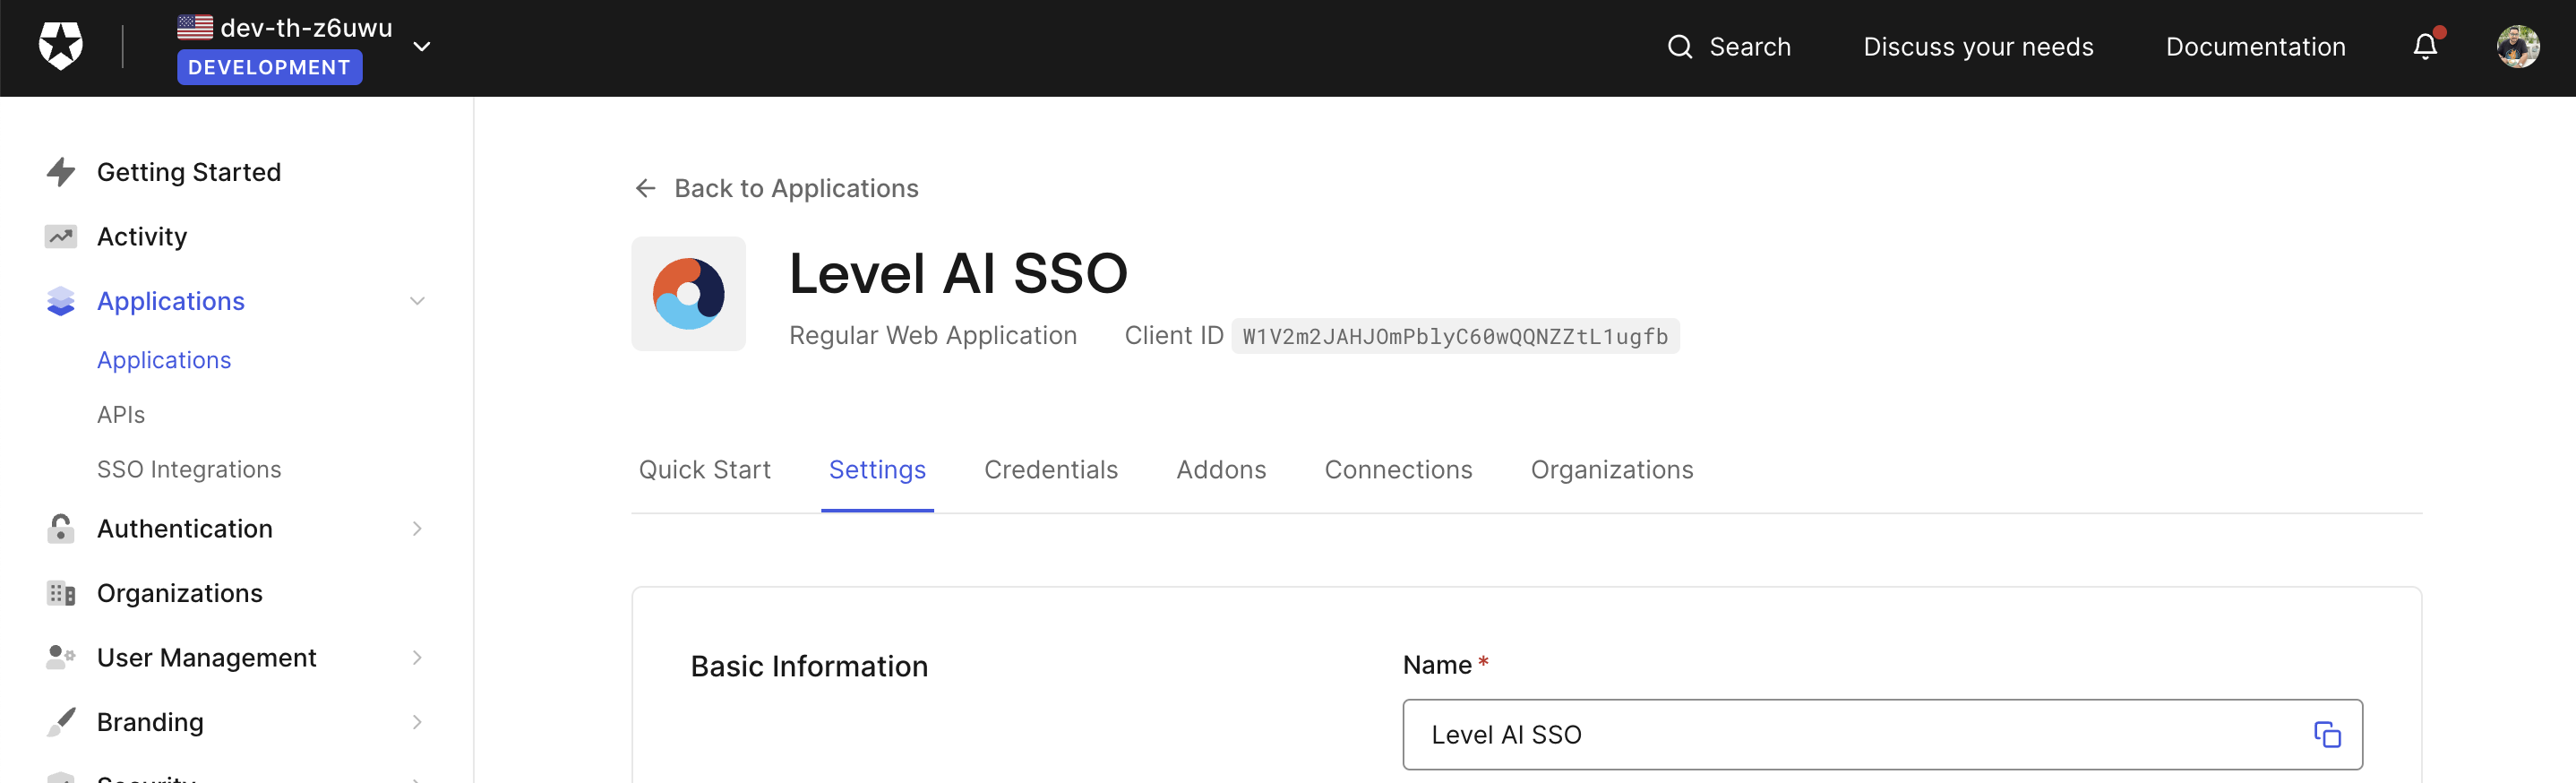
Click on Settings under your Newly created app.
Under the Settings tab, scroll down to Application URIs section and enter the below details and click on Save Changes at the bottom of the page.
Application Login URI
https://mydomain.thelevel.ai
and Redirect URI (callback endpoint) as https://prod-api.thelevel.ai/auth0/callback,https://prod-api.thelevel.ai/auth0/callback/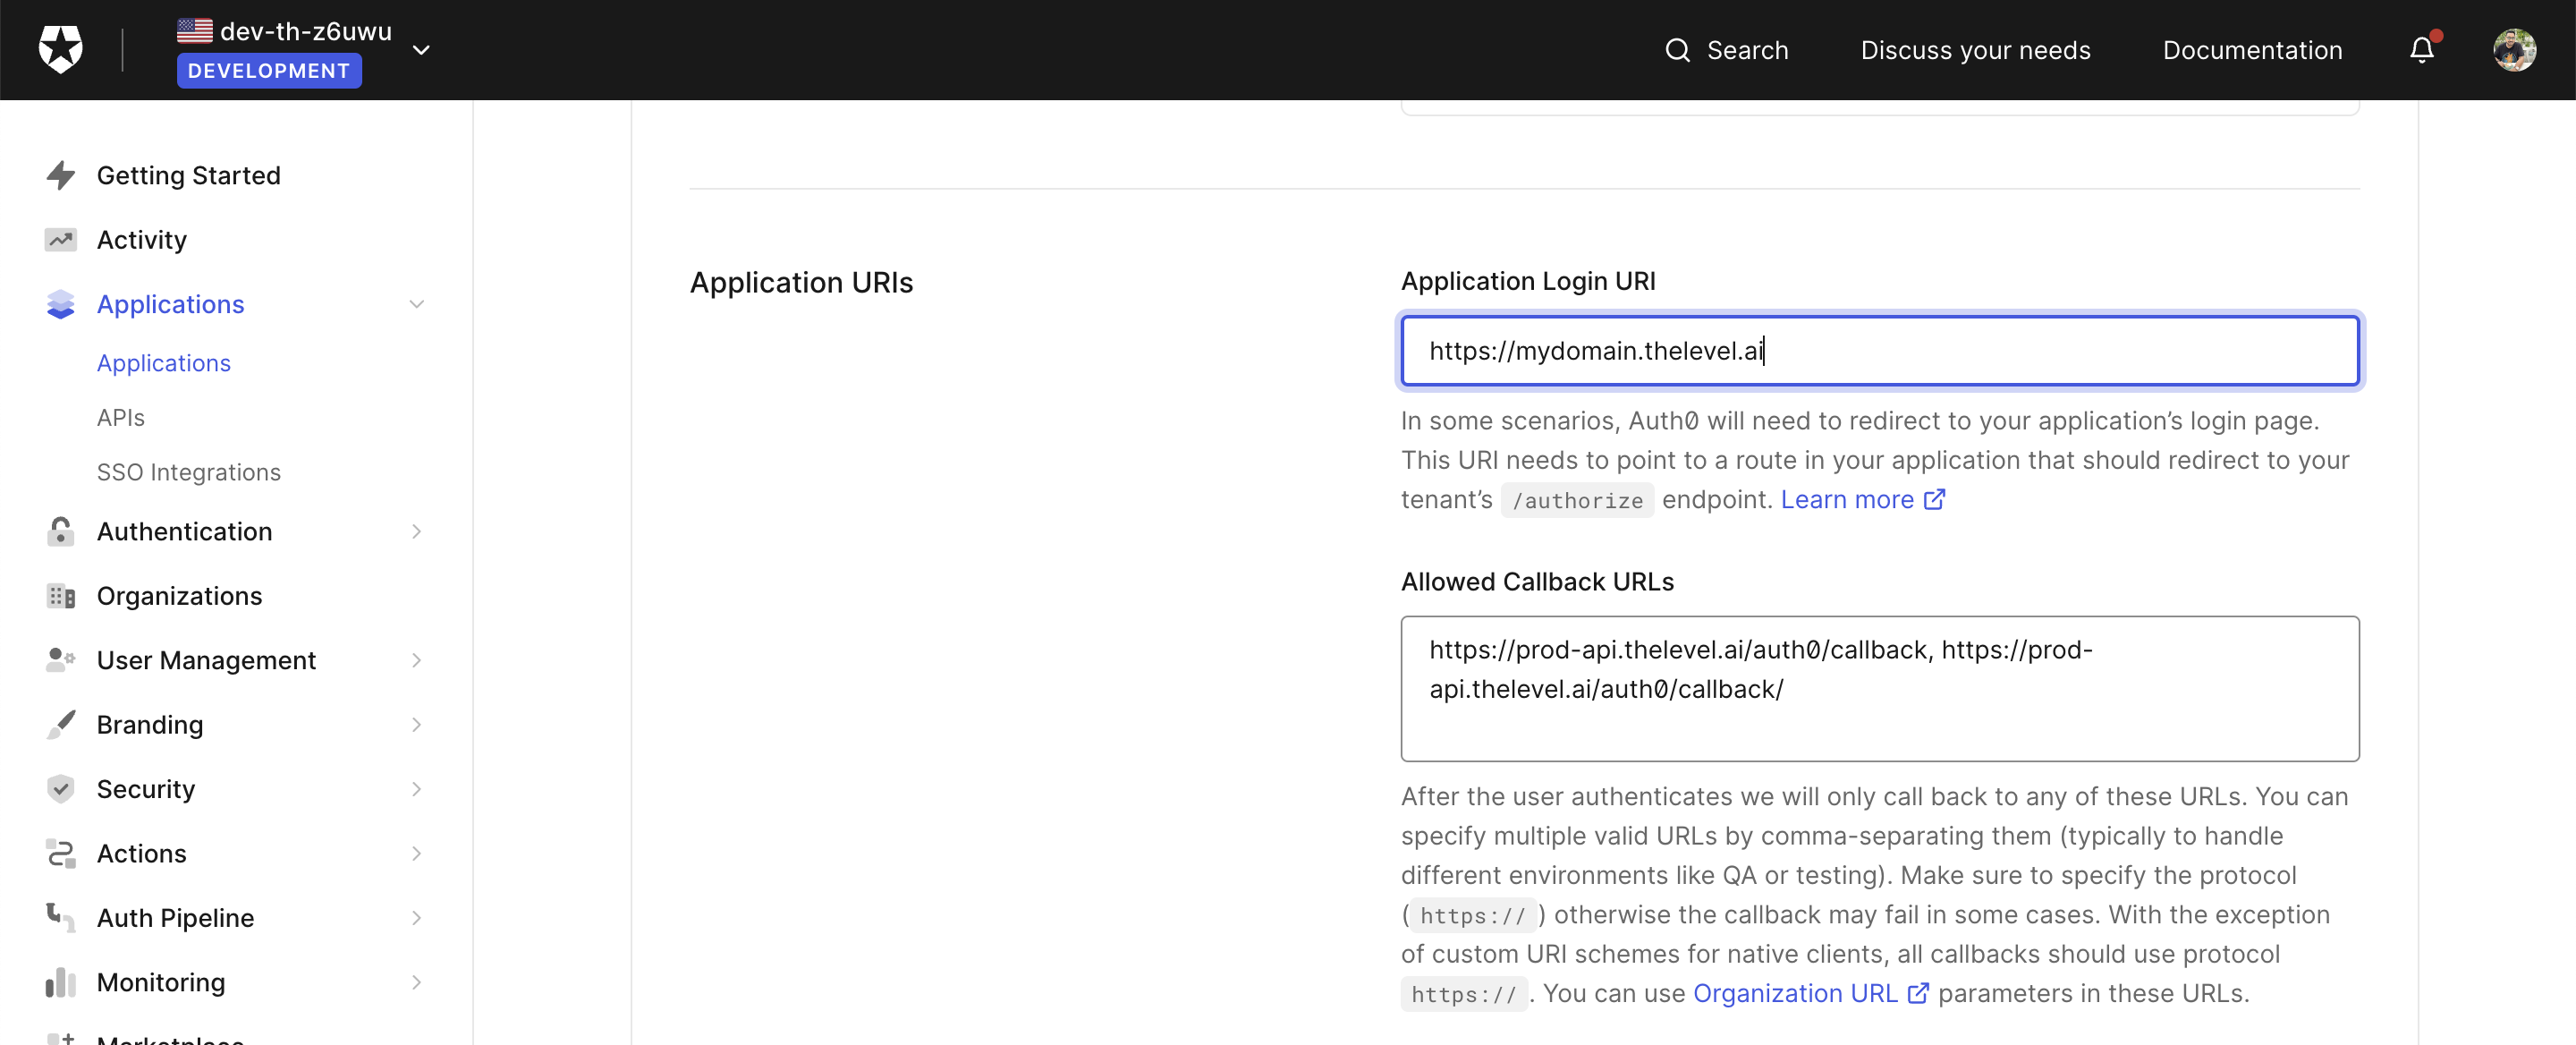
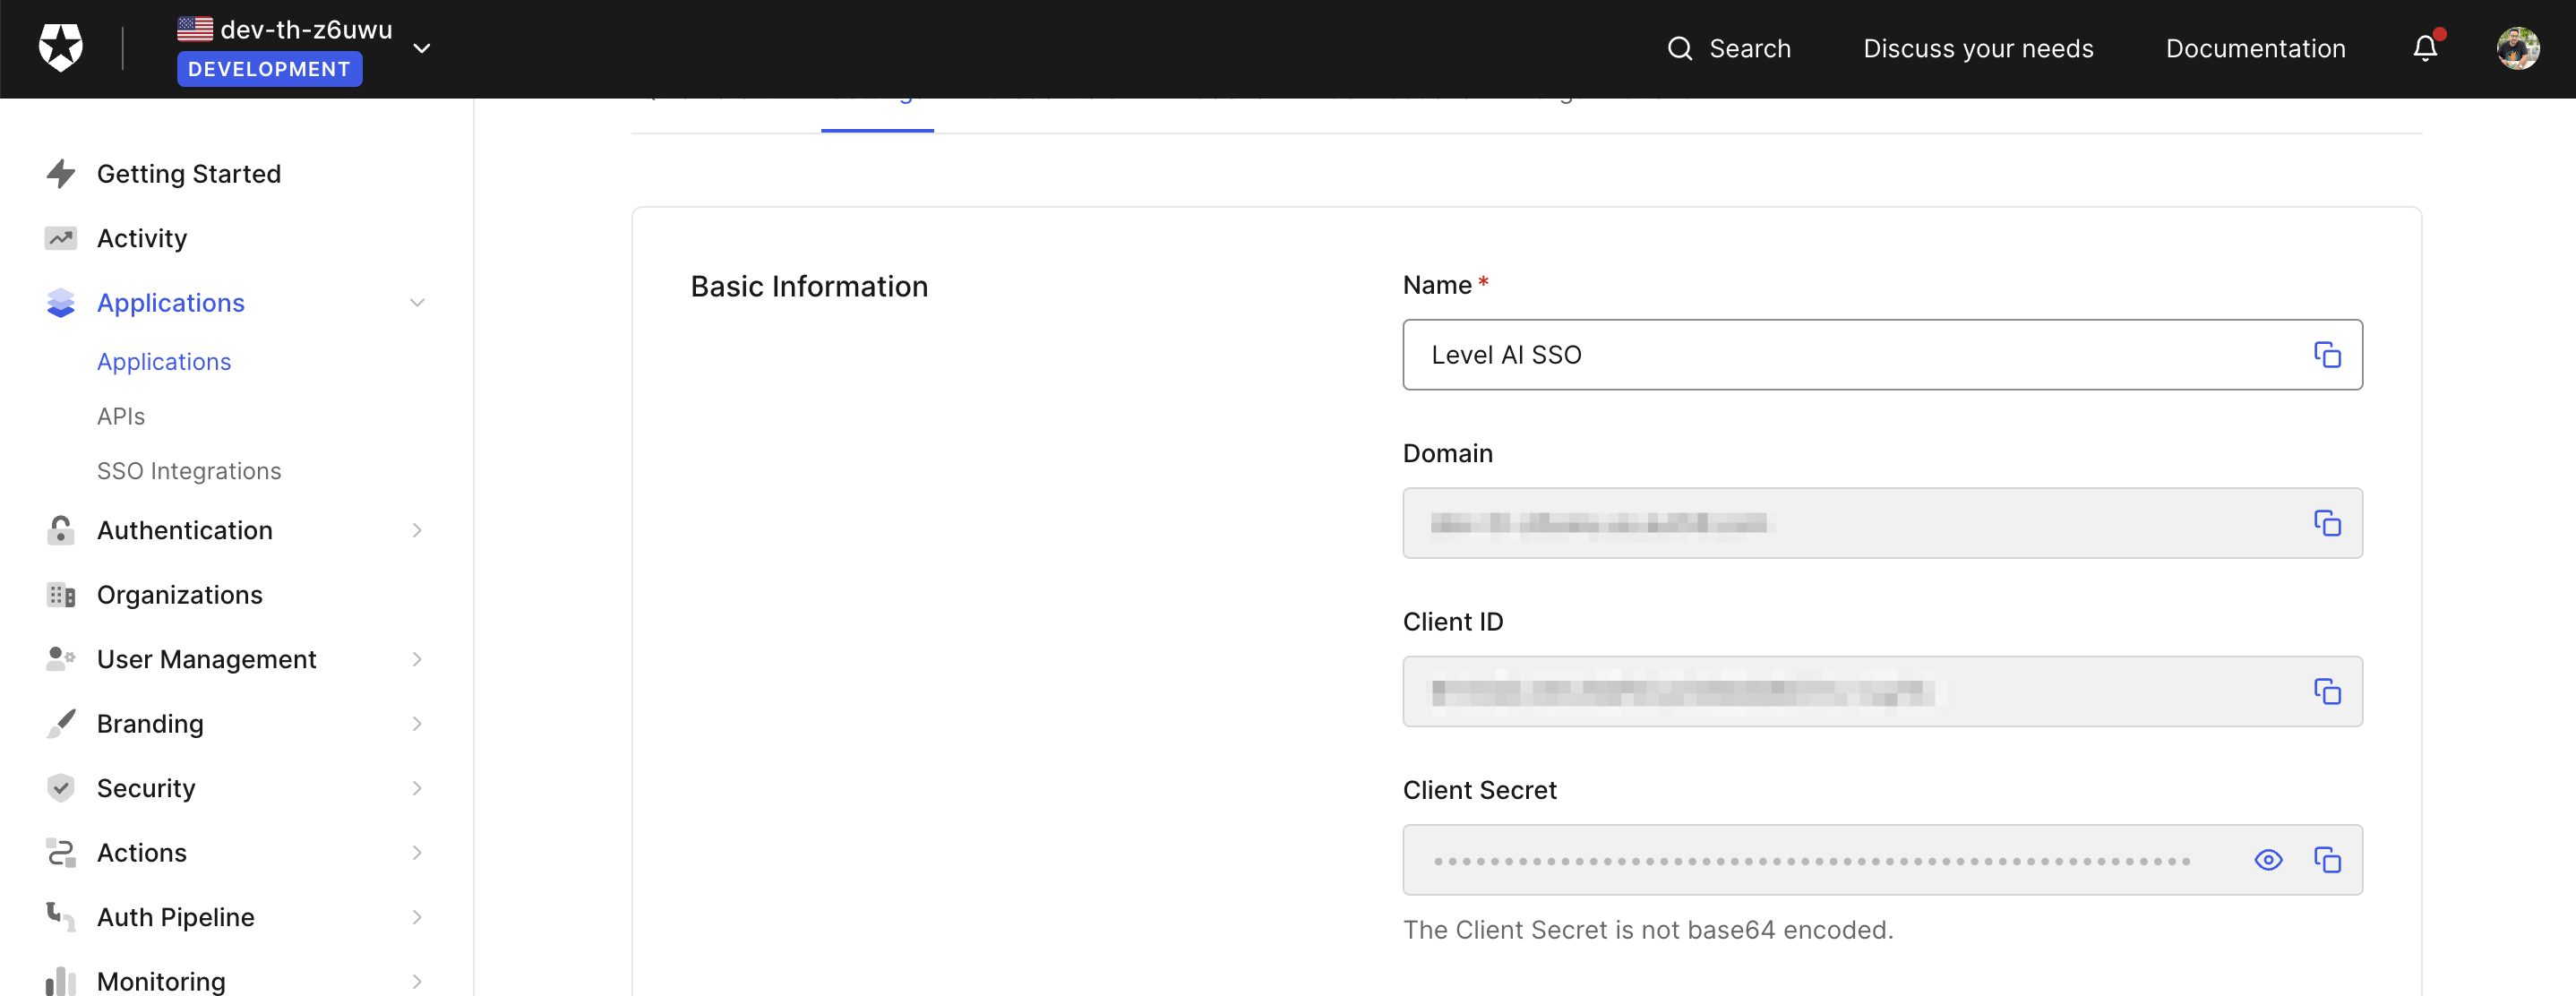
Additionally, keep a note of the Domain, Client ID and Client Secret which will be used in the successive steps to complete the SSO setup on Level AI.
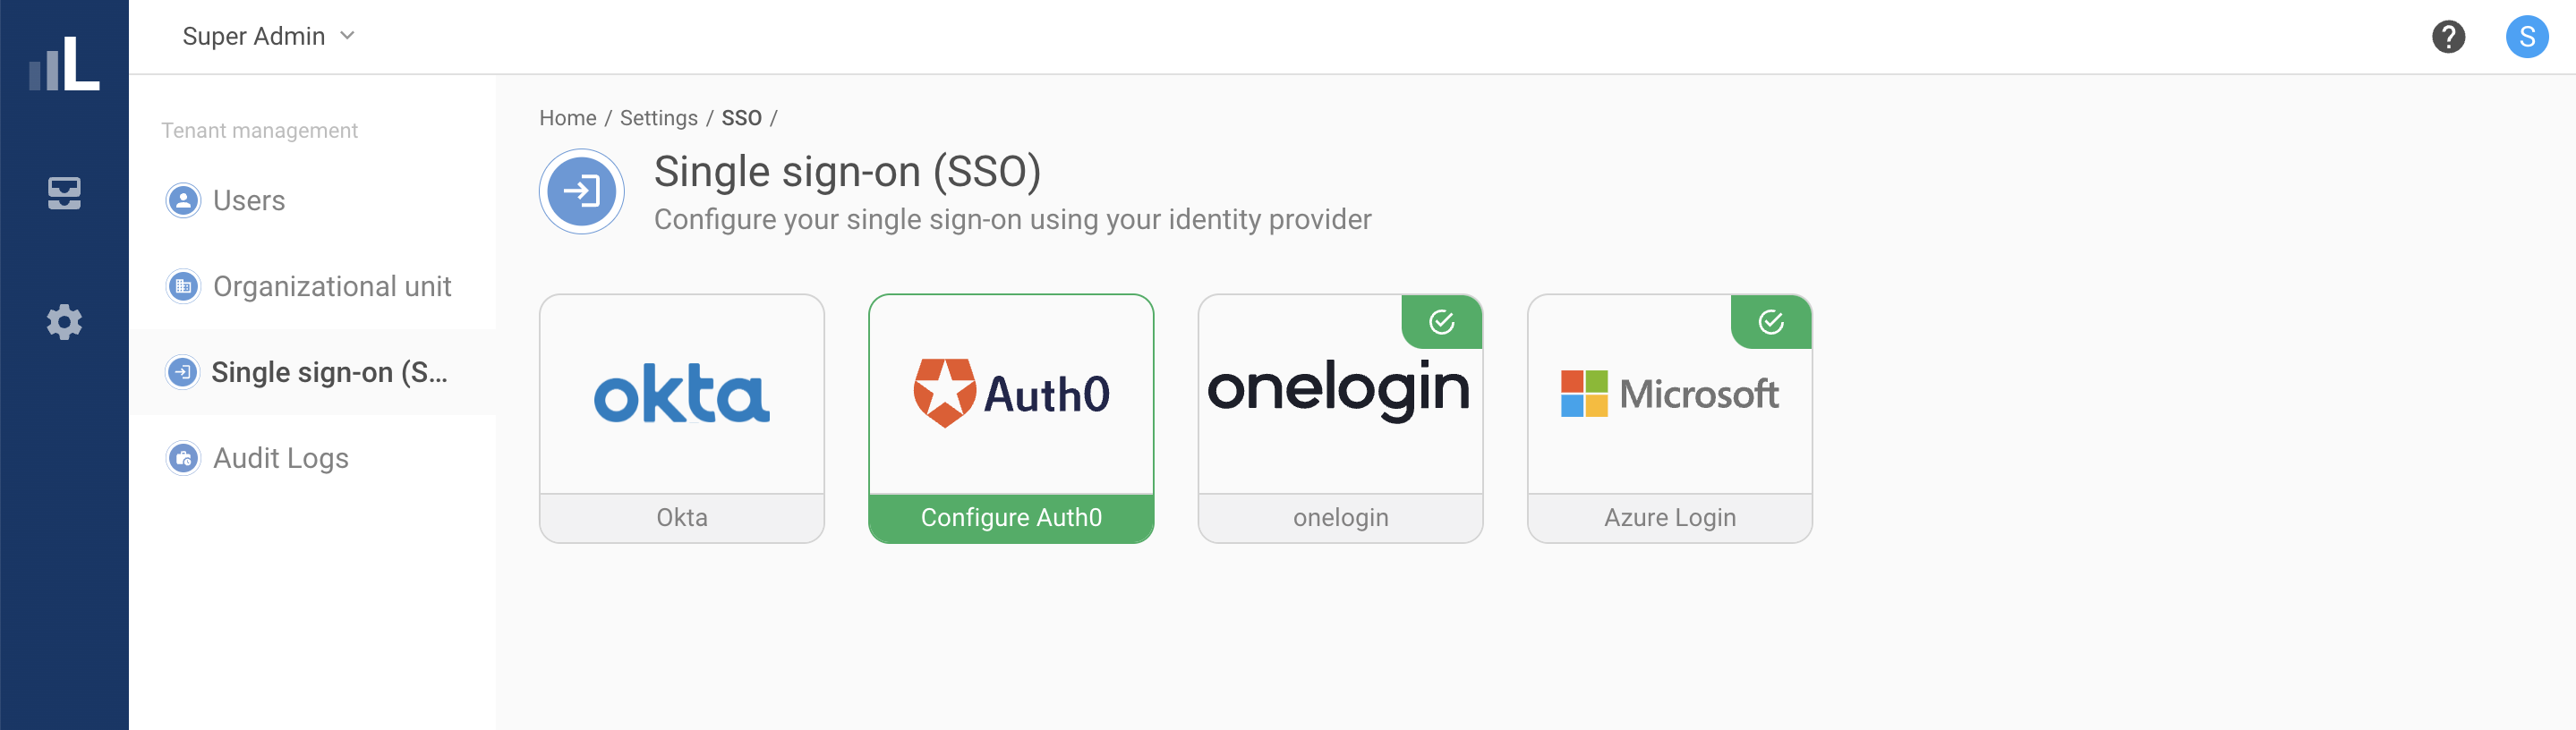
Login to your Level AI instance as a Super Admin and navigate to Settings -> Single sign-on (SSO)
Click on the Auth0 app listed.
Enter the Domain, Client ID and Client secret from your configured app on Auth0 (as cited on Step 6) and click on Save.
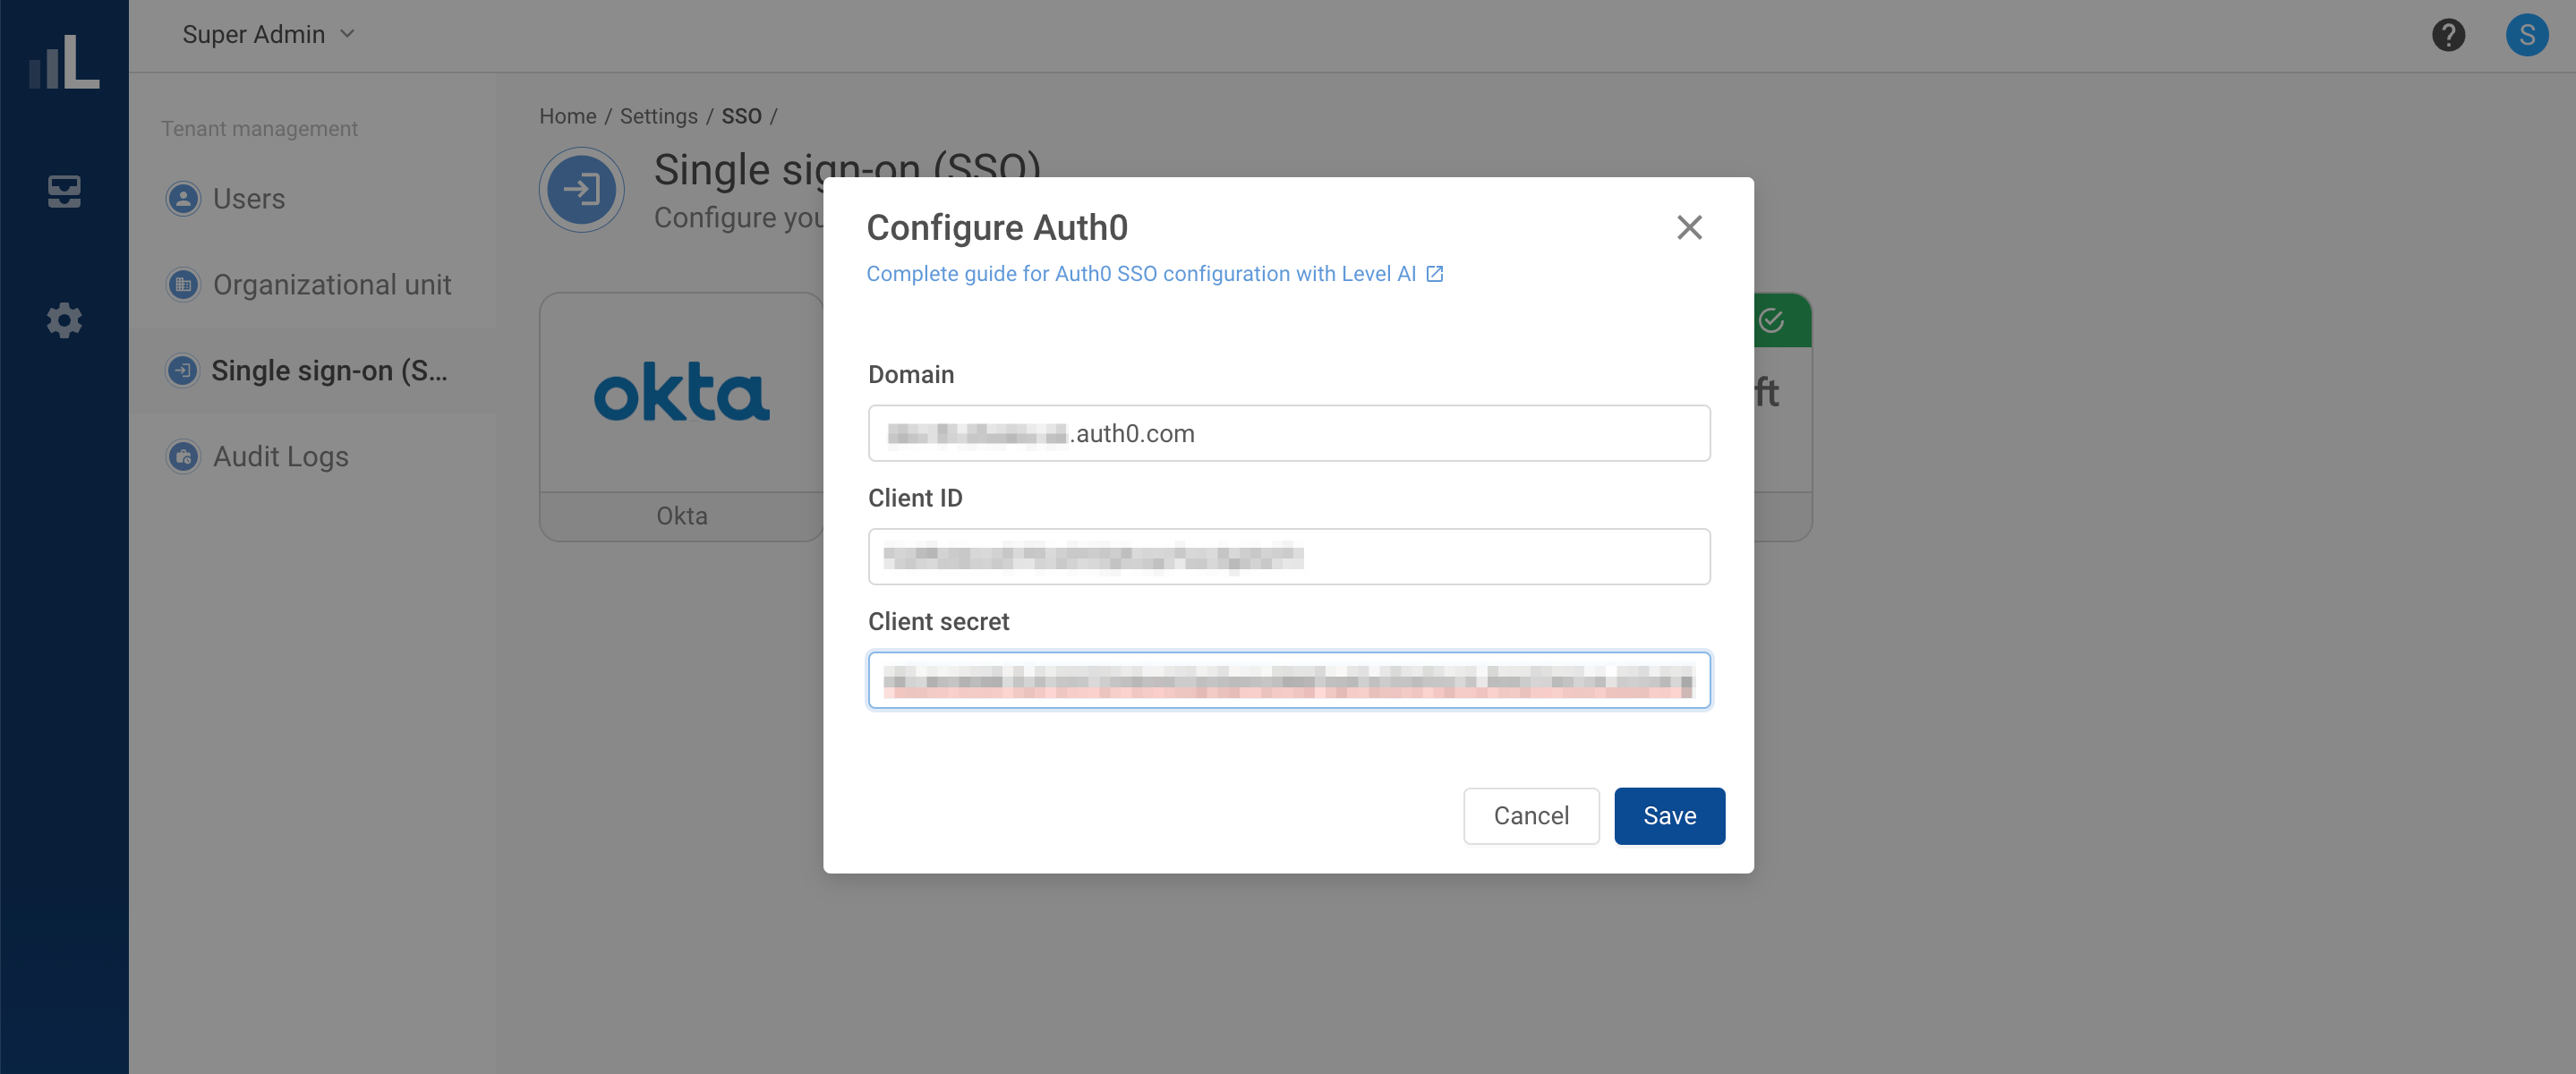
Once set up, users can now login to Level AI via their Auth0 credentials.